How to Find a Central Heating Leak: Symptoms, DIY Checks and When to Call a Pro
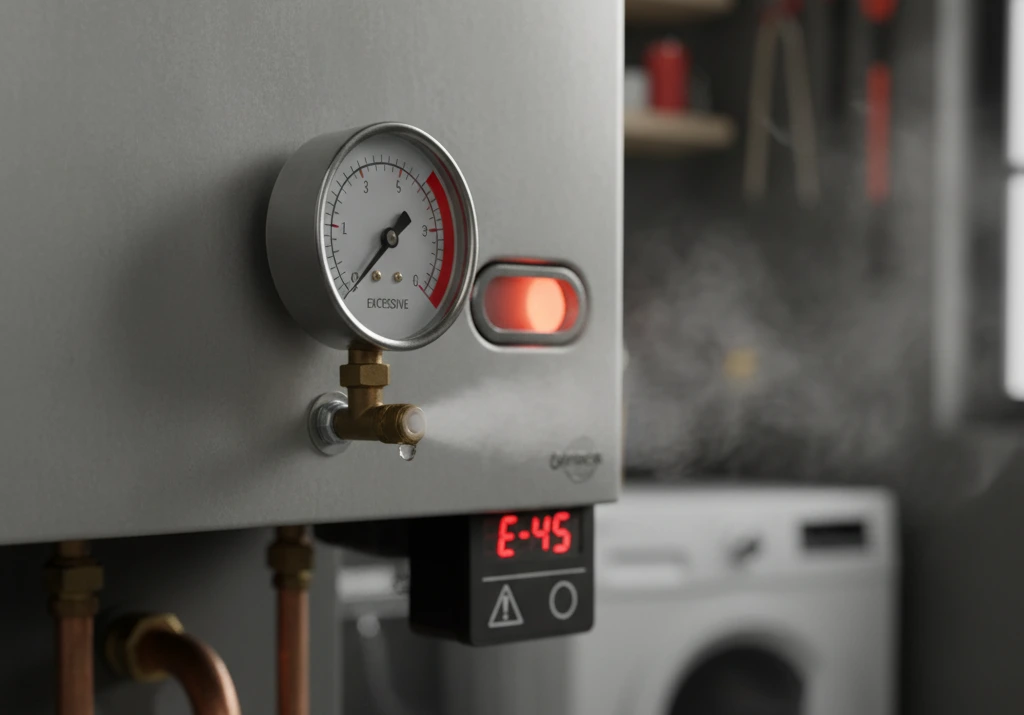
Constantly topping up your boiler pressure? Learn how to tell a genuine central heating leak from an expansion vessel red herring, which DIY checks to run first, and why hidden pipe leaks under floors need professional detection.
A central heating system is a sealed loop. Once it is filled and pressurised, the same water should circulate around your radiators for months, even years, without you ever needing to add more. So when your boiler pressure keeps dropping and you find yourself reaching for the filling loop every week or two, something is letting water or pressure escape. The hard part is not knowing that you have a problem, it is finding exactly where the water is going, because the most stubborn heating leaks are the ones you cannot see.
This guide walks through how to find a central heating leak the way an experienced engineer would: reading the symptoms properly, separating a genuine pipe leak from the classic expansion vessel red herring, running the sensible DIY checks yourself, and understanding when a hidden leak under a floor or screed genuinely needs professional detection equipment. The goal is to help you narrow the problem down before you spend money, and to know what good, honest help looks like when you do need it.
The Symptoms of a Central Heating Leak
Leaks announce themselves in different ways depending on where they are and how big they are. A pinhole in a buried pipe behaves very differently from a weeping radiator valve. Learning to read the pattern is the first step to locating the source.
Constant pressure loss and repeated topping up
The single most common sign is a pressure gauge that will not stay put. A healthy sealed system sits around 1 to 1.5 bar when cold and rises modestly when hot. If you top up to 1.2 bar and it is back down to 0.5 bar a few days later, water is leaving the system somewhere. The speed of the drop is a useful clue. A fast fall over hours usually points to a reasonably sized leak you have a good chance of finding. A slow creep over a week or two often means a very small leak, or something that is not a leak at all, which we will come to shortly.
Damp patches, staining and cold spots
Water that escapes has to go somewhere. Look for tide marks or brown staining on ceilings below pipe runs, blistering paint or bubbling on walls near radiators, lifting or discoloured flooring, and a persistent musty smell in a cupboard or corner. Cold spots on a radiator can also hint at a problem, though the top-cold, bottom-warm pattern usually means trapped air or sludge rather than a leak. A radiator that is cool across the whole bottom edge, combined with damp at the skirting below it, is more suspicious.
Visible water, corrosion and mineral deposits
Sometimes the evidence is right there if you look closely. Weeping joints leave a crust of white or greenish mineral deposit and a tell-tale rusty tear-stain running down from the fitting. Radiator valves often show a dried salt-like ring around the spindle or the union nut. Under the boiler, a small amount of staining or a damp patch on the floor is a strong indicator that the fault is inside the appliance itself.
Symptom to Check: A Quick Reference
| Symptom | Most likely area | First check to run |
|---|---|---|
| Slow pressure loss, no visible water anywhere | Expansion vessel or PRV, small hidden leak | Watch PRV discharge pipe outside; note if pressure spikes when hot |
| Fast pressure loss over hours | Accessible joint, valve or radiator | Inspect all visible joints, valves and under the boiler |
| Damp or salt ring at a radiator valve | Valve gland or union nut | Dry it, wrap tissue around the nut, check after a heating cycle |
| Ceiling stain below an upstairs room | Buried or under-floor pipe run | Map the pipe route; professional detection usually needed |
| Damp patch on floor under the boiler | Internal boiler fault | Stop, call a Gas Safe engineer |
| Cold spot plus damp at skirting | Radiator tail or under-floor connection | Check valve tails first, then consider hidden pipe |
| Pressure only drops when heating runs | Expansion vessel losing its charge | Re-pressurise vessel or have it tested |
DIY Checks You Can Safely Run
Before calling anyone, there are several checks any homeowner can carry out. None of them involve opening the boiler or touching gas components, and together they will either find an easy leak or tell you the problem is hidden and needs professional help.
1. Inspect every visible joint and fitting
Work methodically. Follow the pipes you can see, in the airing cupboard, under sinks, in the loft and along skirting boards. Run a dry finger or a folded sheet of kitchen roll around each joint, elbow and tee. Look for the mineral crust and rust-stain signature described earlier. A joint that is actively weeping will darken your tissue within a heating cycle. Mark anything suspicious so you can point it out later.
2. Check the radiator valves
Radiator valves are one of the most common leak points because they have moving parts and seals that wear. Dry the valve completely, then wrap a fresh piece of tissue around the spindle where the head meets the body, and separately around the union nut connecting the valve to the pipe tail. Run the heating and check both after an hour or two. Damp tissue on the spindle points to a worn gland; damp on the union usually means the nut needs re-making or the olive has failed.
3. Look under and around the boiler
Without removing any covers, look at the floor and the accessible pipework beneath the boiler. A dry patch of limescale, a rust mark or actual dampness suggests the fault is inside the appliance. This is where DIY stops. Anything requiring the boiler casing to come off is a job for a Gas Safe registered engineer, both for your safety and to keep any warranty valid.
4. Watch the PRV discharge pipe
Find where the small copper or plastic pipe from your boiler exits the outside wall, often near the flue. Check whether it is dripping or shows staining or limescale streaking down the brickwork. If it is discharging, your pressure loss is very likely the expansion vessel or PRV rather than a leak in the house, and you can redirect your effort accordingly.
5. The isolation test
If your system has isolation valves on individual circuits or you can close off zones, you can sometimes narrow down where the loss is happening by isolating sections and watching the gauge. This is fiddly and not every system is plumbed to allow it, but where it is possible it can point the professional straight to the offending circuit and save time. If you are not confident, leave this for the engineer.
Why Hidden Heating Leaks Need Professional Detection
Here is the reality that the forums agree on: when a heating leak is buried under a solid floor, under floorboards, or set into screed, no amount of tissue and torchlight will find it. The water tracks along the pipe or through the screed and surfaces somewhere completely different from the actual hole. Digging up floors on a guess is expensive, destructive and often wrong. This is exactly where non-invasive leak detection earns its place.
Thermal imaging under load
A thermal imaging camera reads surface temperature. With the heating running and the pipes hot, a leak and the warm, damp track it creates show up as a temperature anomaly through the floor finish. The key phrase is under load, the system has to be hot and pressurised for the leak to reveal itself thermally. In skilled hands, thermal imaging can localise a buried leak to within a small area without lifting a single tile.
Tracer gas detection
For very small leaks, or leaks under thick screed where heat does not read well, tracer gas is the gold standard. The system is drained and charged with a safe hydrogen and nitrogen mix. The tiny gas molecules escape through the leak and rise to the surface, where a sensitive probe pinpoints them. Tracer gas can find pinholes that no other method will catch, which is why it is the go-to when accuracy matters and access is limited.
Per-circuit pressure testing
Rather than treating the system as one big loop, per-circuit pressure testing isolates individual sections and pressure-tests each one separately. By watching which circuit holds pressure and which one bleeds down, an engineer can confirm which run the leak is on before any detection camera or gas comes out. It turns a whole-house mystery into a single suspect circuit, which is the difference between lifting one metre of floor and lifting ten.
Used together, these methods let a competent detection engineer find a hidden leak precisely and non-invasively. If you would like the full picture of how this works on heating systems specifically, see our page on central heating leak detection in London, and for water leaks more broadly, leak detection in London.
Repair Options Once the Leak Is Found
What happens next depends on what and where the leak is. An accessible weeping joint or a failed olive is usually a straightforward remake or a new compression fitting. A leaking radiator valve is typically a valve replacement or a re-packed gland. A corroded radiator that is weeping from the body itself generally needs replacing rather than patching. For a buried pipe, the choice is either to expose and repair the failed section, or in some cases to reroute a new run around the problem area to avoid disturbing a solid floor. Where the fault is inside the boiler, a Gas Safe registered engineer will diagnose and repair or replace the affected part.
Whatever the repair, it is worth having the system re-pressurised and the expansion vessel checked at the same time, so you leave with a system that holds pressure properly rather than one that simply swaps one nagging symptom for another.
What professional detection typically costs
As a rough guide, UK trade cost-guide ranges for professional non-invasive leak detection generally fall somewhere in the region of a couple of hundred to several hundred pounds depending on system size, access and the methods needed. Repairs are separate and vary widely with the fault. Treat any figure as indicative only; the honest way to book is a clear fixed hourly rate agreed up front, so you know exactly what you are paying per hour before anyone starts.
How we approach it honestly
Our positioning is deliberately straightforward. We use per-circuit pressure testing to confirm the affected circuit before we start cutting into anything. We favour non-invasive detection, thermal imaging and tracer gas, so your floors and finishes stay intact wherever possible. We work on a no find, no fee basis, so if we genuinely cannot locate the leak you are not left with a bill for the search. And the hourly rate is fixed and agreed at the point of booking, with no hourly meter running while we work. Any gas appliance work is carried out by a Gas Safe registered engineer.
When to Stop DIY and Call for Help
Call a professional when you have topped up more than once or twice and the pressure keeps falling, when there is visible damp on a ceiling or floor with no accessible source, when you suspect the fault is inside the boiler, or when your own checks have come up empty but the gauge is still dropping. Chasing a hidden leak yourself tends to cost more in damaged flooring and wasted weekends than getting it found properly the first time. Finding the leak accurately is the whole game; everything after that is a routine repair.
How we help with this
If the article describes a problem you actually have, these are the visits that deal with it.
- leak detection in London
Finding a hidden leak without opening the property up first.
- central heating leak detection
For a boiler losing pressure or a circuit that will not hold.
- our full guide to leak detection
How each method works, what it costs and when it is the wrong tool.
Not sure which one applies? Describe the symptom on the phone and you will be told which survey it is, the hourly rate and roughly how long it takes, before anything is booked. 020 7123 8560
Frequently asked questions
How quickly should my boiler lose pressure before I worry?
A sealed system should hold its pressure for weeks or months. If you are topping up more than roughly once a month, something is letting water or pressure out and it is worth investigating. A drop over hours suggests a reasonably sized leak, while a slow creep over a week or two often points to a tiny leak or an expansion vessel that has lost its charge.
Can a central heating leak lose pressure without any visible water?
Yes, and this is very common. Water can escape through the pressure relief valve to the outside wall when the expansion vessel fails, evaporate as a fine mist from a faulty air vent, or drip inside the boiler into the condensate drain. It can also track along a buried pipe and surface far from the actual hole. No visible water does not mean no leak, it usually means the leak is hidden or the loss is internal.
Is it the expansion vessel or a real leak?
A strong sign of an expansion vessel or PRV problem is pressure that spikes high when the heating is hot and falls back when it cools, often with dripping or staining at the external discharge pipe. A genuine pipe leak tends to drop pressure more steadily regardless of temperature and may leave damp or staining near a joint, valve or pipe run. If in doubt, have the vessel tested first because it is quick and cheap to rule out.
Do I have to lift my floors to find a hidden heating leak?
Usually no. Non-invasive methods like thermal imaging with the system under load and tracer gas detection can pinpoint a buried leak to a small area without lifting floors on guesswork. Combined with per-circuit pressure testing to confirm which run is affected, this means any floor that does need lifting is kept to the smallest possible area.
What does no find, no fee actually mean?
It means that if we carry out the detection and genuinely cannot locate your leak, you are not charged the detection fee. It protects you from paying for an unsuccessful search. The fee itself is fixed and agreed when you book, so there are no hourly charges building up and no surprise at the end.
Can I fix a central heating leak myself?
Some leaks are within reach of a confident DIYer, such as tightening or remaking an accessible compression joint or replacing a radiator valve after draining down. Anything involving the boiler casing or gas components must be left to a Gas Safe registered engineer. And hidden leaks under floors or screed need proper detection equipment to find before any repair is even possible, so those are best left to a professional.